
Do you know what’s stopping you from going global? If no, let us help you understand it. You must understand that if you want to target global audience, you must target them as if you’re local. And now, you must be wondering how you can do it. Don’t worry! We have a solution for you – multilingual website. Many organizations are reaping the benefits of multilingual web experiences to connect with their customers across the world. And it’s almost a requirement these days. Not only do Multilingual websites enable you to reach new target audiences more effectively, but it adds credibility to your brand, offers familiarity to visitors and makes users more likely to turn into customers.
As per the recent research conducted on a list of top 150 global brands across industries, Wikipedia, Google, Adobe, Airbnb, and Nestlé are the top 5 brands that are considered the best in terms of multilingual support, global user experience, and localization. .
If you too want to take advantage of Drupal multilingual website to reach out to your potential customers, let us help you. In this article, we have described each and every step that you can follow to enable multilingual feature on your website.
Also Read: How To Build Marketing Landing Pages With Drupal 9?
Multilingual Support Modules
Drupal offers 4 different multilingual support modules, and all you have to do enable them. You can access them in your administrator view. Go to Extend, select all the 4 modules under Multilingual and click Install button.
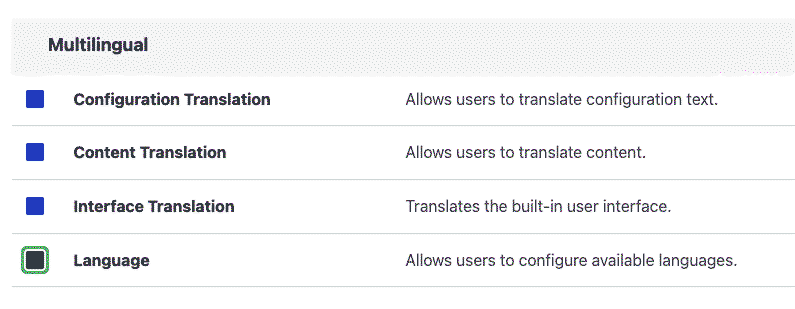
- Configuration Translation Module – It translates configuration text like views names.
- Content Translation Module – It translates content entities and types like comments, custom menu links, blocks, taxonomy terms, and more.
- Interface Translation Module– It translate user interface elements, including Home, Title, Description, Body, Forms, and more.
- Language Module – It allows you to choose any language and integrate it your configuration from over 100 languages.
Note: You can configure these modules for all or for selected set of entities, content types, elements, or configurations.
How To Implement The Multilingual Feature?
If you don’t know how to implement the multilingual feature on your website, this article is for you. So once you enable all the modules mentioned above, it’s time to configure them on your website.
Let’s see how to do it!
Step 1: Add a language
Navigate to Configuration > Regional and language > Languages in your Drupal 9 admin interface. Once you’re on the Language page, click on the + Add language button. You can select any language you like or want for your website.
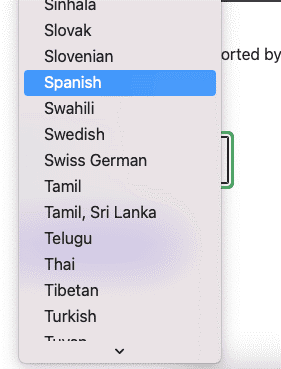
Once you add the language, you can set it to your default language or keep English as the default language.
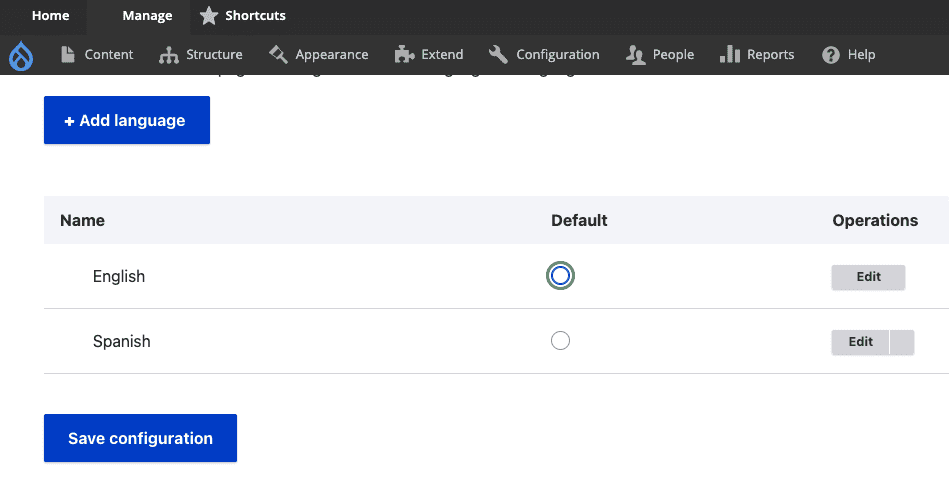 Adding a Language
Also Read:How To Audit Your Drupal Website?
Step 2: Update Translations
To update translations, click on the Edit button and select Translate option from the dropdown menu. Selecting Translate option will update your Drupal site with all the interface and configuration translations for that language from localize.drupal.org.
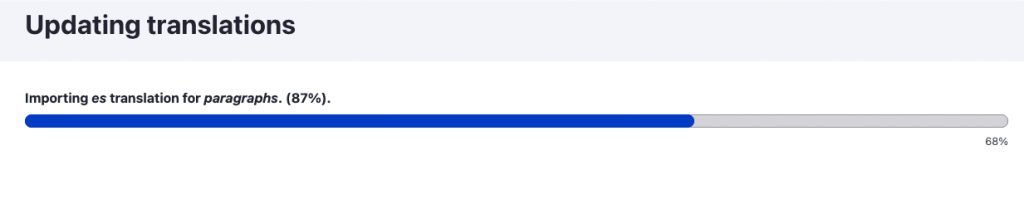 Importing translations
Step 3: Language switcher
The language switcher block will allow users to switch between their preferred languages. You can add this block to any region of your page.
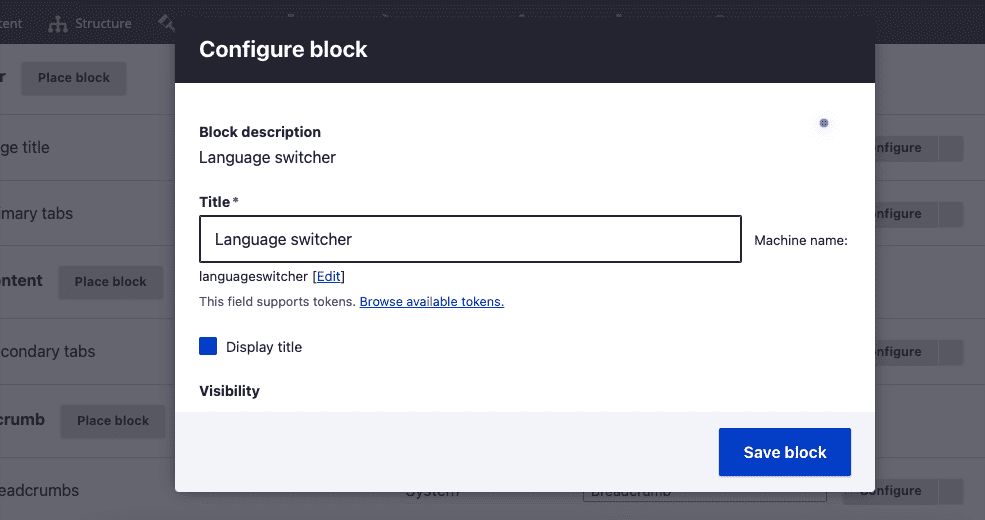
Adding a Language Switcher block
Step 4: Adding translations to content types and entities
If you want to add translations for your content, you can do this on the Admin screen. All you need is to go to Configuration > Regional and language > Content language and translation. You can add translation to all the content types or as per your requirement.
Also Read: Environment Requirements For Drupal 9
Translate the Content
Once you enable and configure the multilingual modules in your Drupal 9 website, the next step is to translate the content. You can do it in three super simple steps.
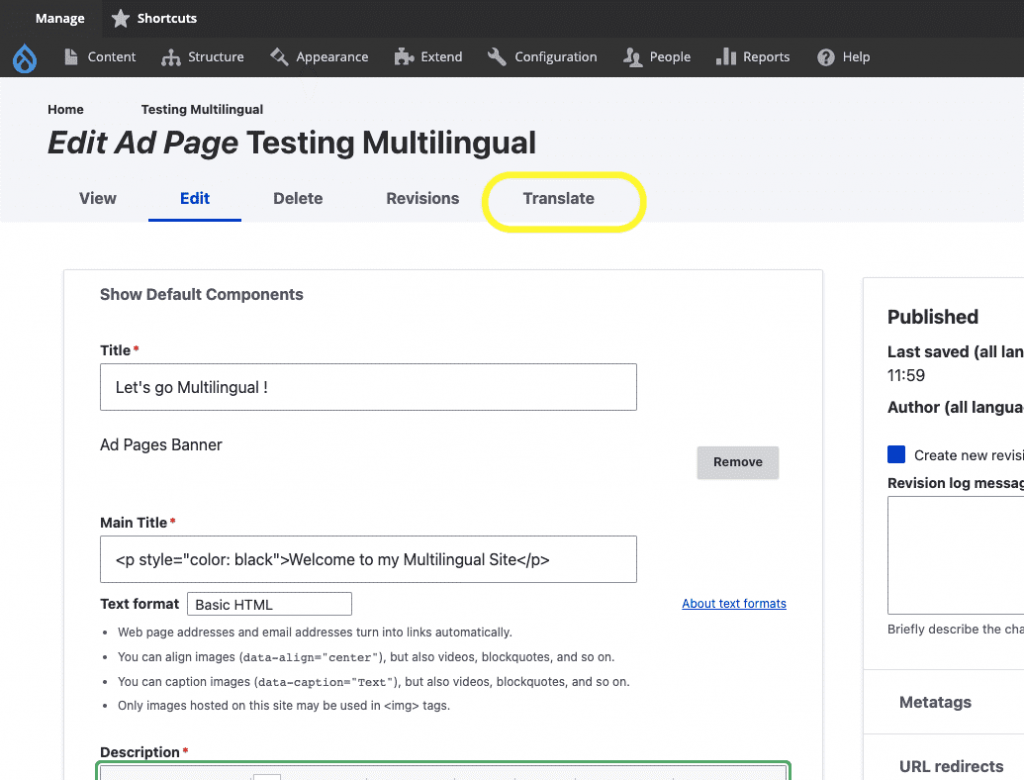
Step 1: Create a new page or Edit an existing one
Create a new page for all Ad page content types. Once the page is created, you can see the five tabs, including View, Edit, Delete, Revisions, and Translate.
Step 2: Select the Language
The next step is to select the language. To do so, click on the Translate tab and look for the language that you’ve enabled and configured for your website. You will observe that the language you configured doesn’t have a translation yet. However, there is an Add option, so click on it to add translation page.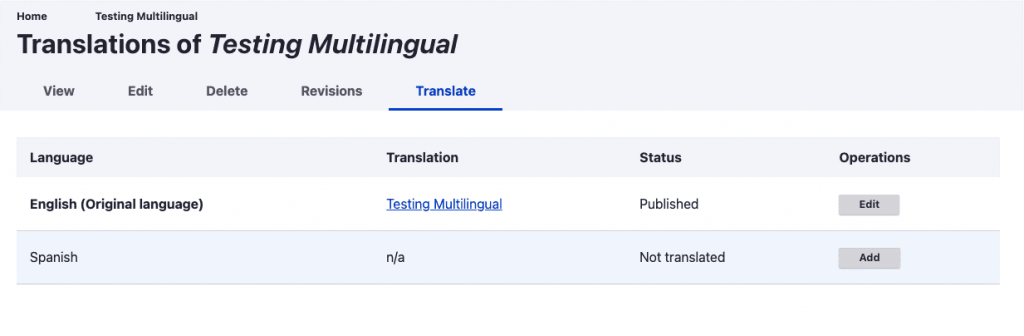
Also Read: Drupal 9 Vs. Drupal 8: Should You Upgrade Your Website To Drupal 9?
Step 3: Add translated content to the respective field
Once you click Add button, you’ll notice that all the elements and fields of Admin interface have translated into your preferred or chosen language. Now all you need to do is add translated content into each field as per your requirement.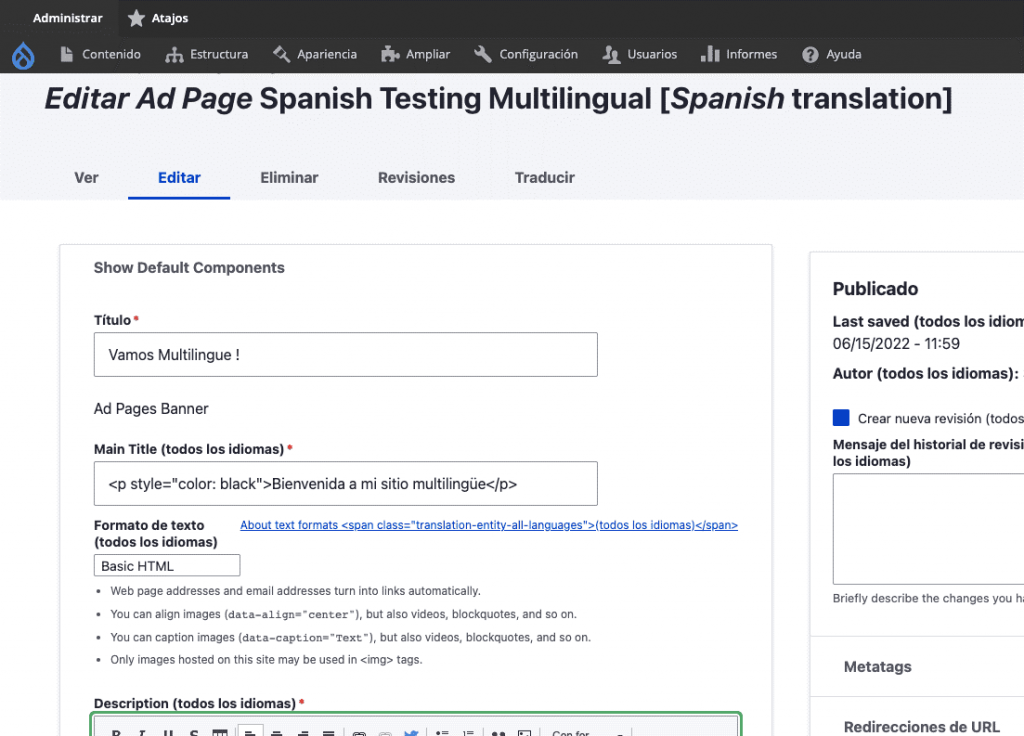
Step 4: Save and Review!
Once you add all the content in the fields, don’t forget to save it!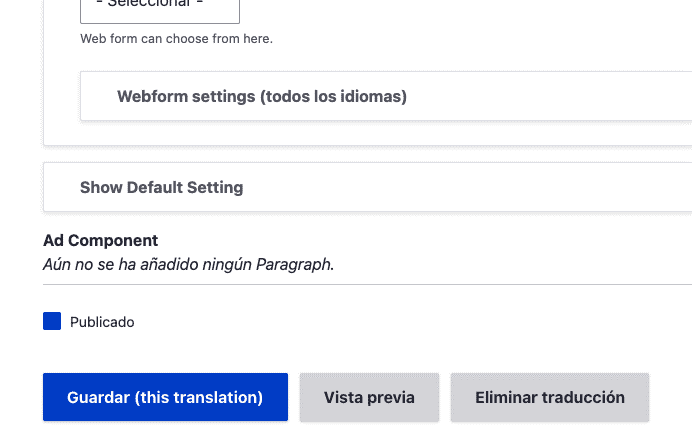
And this is how your Multilingual web page will now look like.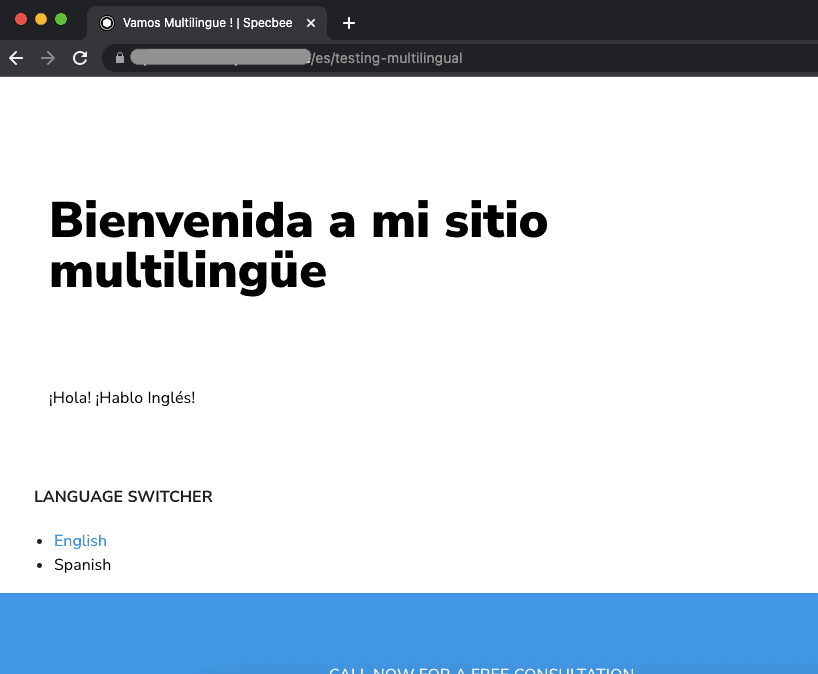
Spanish Version
Once you create a multilingual page, you will notice that it has different URL from the original page.
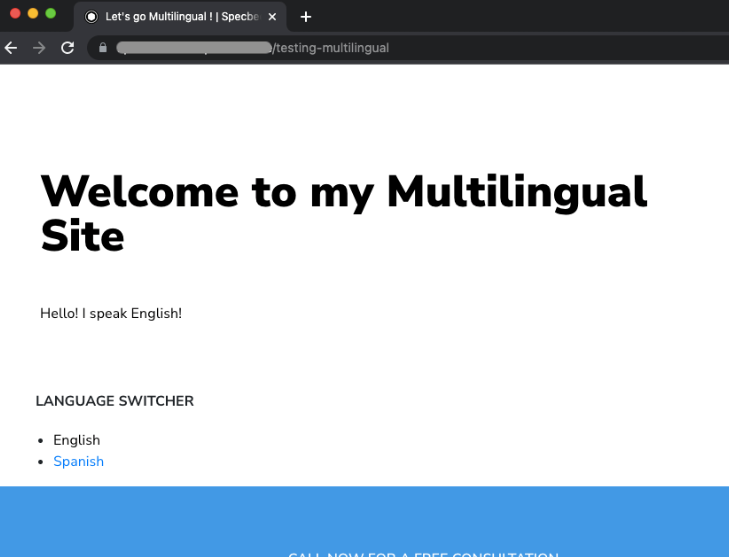
English Version
https://www.semi.org/region-selector
Also Read: Drupal 9 Plugins You Must Have For Your Website
Final Thoughts
Did you see how easy it was to build a multilingual website in Drupal 9? If you need any assistance with your Drupal multilingual website or Drupal support and maintenance, get in touch with Alberta TechWorks team today!